2013年8月20日星期二

Week4-Independent study

1.  Island Scene
 
RAIN
FOG

WATERFALL


1.  Video

FOG

RAIN


Week 4 Lecture Reflection

In this week, I know the Sublime and the basic idea about what sublime should be through photo slides in lecture. For this, I get the sense of the natural and man made island (Palm Islands and Dubai) and their geographical maps and landscapes give me the idea about my own island. 

Week4-Tutorial Tasks

1.  Skybox  
2. Time of Day   
3.  Different Skybox of test island


2013年8月13日星期二

Week3-Independent study

1. 5 images of custom island
2. Textures assign test in my island


3. Video clip of the island


Week 3 Lecture Reflection

In this week, I learnt about elements in the scene and environment looks better by "The Picturesque" topic and the example of the Giovannni. The landscapes presentation give me the design idea that I could create the same elements in my island. and those could looks more interesting. 

Week3-Tutorial Tasks

2. Images of landscape painters

Claude Lorrain:

William Gilpin:

Capability Brown:

Humphrey Repton:

JMW Turner:

An examples of Zhuozheng Garden:


Week2-Independent study

1. 3 images of Second Island


3. Image of my terrain texture


4. Image of my terrain texture apply to my island


Week 2 Lecture Reflection

In this week, I learnt about how to create my own terrain by using two different ways, One is using GeoControl to load terrain first and then use "Terrain Brush" to edit it in CryEngine 3. It is believed that the combine use of GeoControl and CryEngine is the most effective way to create terrain.  

2013年8月6日星期二

Week2-Tutorial Tasks

1. Find 5 reference images of different landscapes


1. Rugged mountainous terrain


Links: http://hdw.eweb4.com/out/793935.html


The vegetation is sparse, the terrain looks like a very rugged mountainous terrain, and the lighting could be strong due to sparse vegetation.


2. The German Romantic Landscape 


Links: http://landscapeideas.pooldesign1.com/the-german-romantic-landscape-painter-caspar-david-friedrich/


The vegetation is in middle level, there are diverse plants such as trees and bushes, the terrain looks like a island terrain, and the island is surrounding by the water, the lighting could be strong due to bushes.


3. Heart Island, Landscape


Links: http://www.listofimages.com/heart-island-landscape.html

The vegetation is very flourishing, the trees are covering all the island, the terrain looks like a traditional island terrain, and the natural lighting could be very strong.


4. Lovely River Landscape


Links: http://wallpink.com/lovely-river-landscape.html

The vegetation is also very flourishing in this landscape, the trees are covering the most ground, the terrain looks like a traditional rainforest terrain, and the natural lighting could be very dark due to the plants.


5. Great Wall Landscape In Beijing 


Links: http://www.chinahiking.cn/great-wall-camping/sleeping-on-the-great-wall-windingdragon-2days/

The vegetation is in a high level, the trees and bushes are very flourishing and covering the land together, the terrain looks like a traditional eastern China terrain, and the natural lighting could be in normal level.

4. Geocontrol Island
Last letter of my family name: U
Last number of student ID: 6
Letter of U and 6 Island example:


2013年8月4日星期日

Week1-Independent study

(a) "Customizing The Editor"
1. I can customize my own toolbar. Click on "Tools" - "Custom Keyboard".

2. In "Preferences" - "General' under 'tools" click on "Highlight selected Geometry". I could get yellow outlines and a pinkish shade on the object that I select.

3. 'Tools" - "configure user command" that I can have a panel on the side with my most used commands.

4. I can drag each window panel on top of the other. This makes several tabs in a single window.

5. I could turn off the toolbar if I don't use those tools usually. 


(b) "Viewports"
1. "W" is for move Forward. "S" is for move Back. "A" is for move Left. "D" is for move Right.

2. Press "shift" is for moving slightly faster 

3. Speed range is from 0.1 to 10, I could choose any of them to make the speed from slow to fast. 


(c) "User Interface Panels – Overview"  
1. Select objects panel "Ctrl+D" is an overview of the objects in the scene.

2. "Asset Browser" allows you to browse for textures and sounds.

3. "DB" - "Database View" is allow users could use for their environment.

4. "View" - 'Time of Day' allows users could change the time of day in the environment, and also they could specify the time that they want.

5. "FG" (Flow-graphs) is the tool that users could script their level and make things move.


Week 1 Lecture Reflection
In this week's lecture, I could know the general idea about the real-time environment, and also get to know the software CryEngine 3 by watching the Eat3D videos. In these videos, I know how to start and create an level, and got an initial impression about this powerful environment engine. I will continue to know and use this software and I think it could be a very useful technology for my future career. 

2013年8月3日星期六

Week1-Tutorial Tasks

(b) "Getting Started And Folder Structure"


1. When the CryEngine Free SDK folder download into computer, it need to extract to use. 

2. The package consists of Bin32 and Bin 64 suit to the different bites WINDOWS system. The memory of 32 bites WINDOWS system less than 4GB in theoretically. The 64 bites could use more memory to run game engine faster. 

3. The Game folder contains all the relative element in the game environment setting, for example materials and textures that I could use them.

4. The tools folder contains CryEngine exporters and importers and many other tools.

5. In CryEngine, I can use and edit the flow graph. 


(c) "Overview Of The CryENGINE 3 Sandbox User Interface"

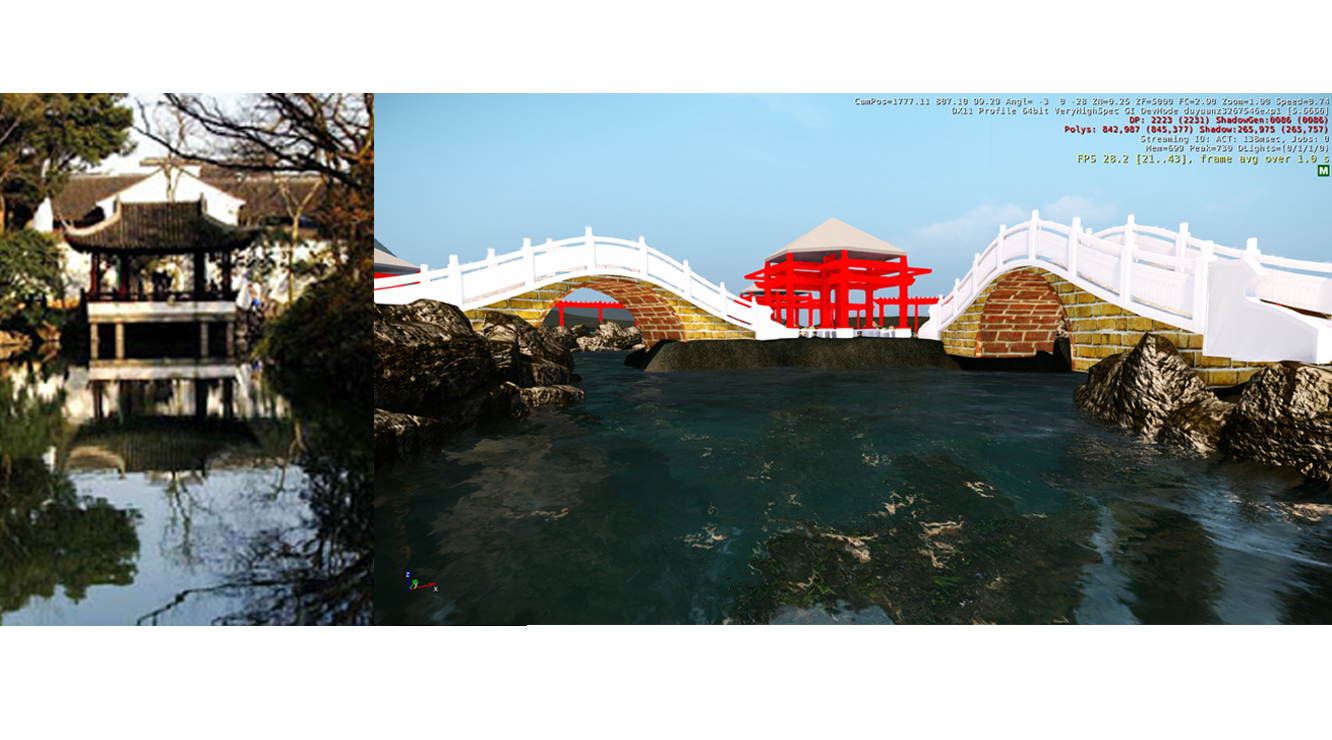
1. "Right click" the view, and then change the view in view list, and this could allow users to change the view they want. the wire frame option could be F3.

2. "lock selection" could allow the users lock the object that they have selected, and only work or edit on them.

3. "Generate Surface Texture" on "file bar" could changes made on terrains. 

4. AI physics in editor mode allow users have a game sense and still edit it.  

5. Speed can be managed by changing it in the "input box" in the "status bar".

6. "Go To Position" allows user to get their located coordinates and save it as exact location.

7. Press Ctrl + G start on game mode.

8. "Modify" tool allows users to modify the scene and object.

9. Type in the object you want to see in the "by name" box to isolate the other entities, and this object will be shown only.

10. “Terrain toolbar” allows users could manage and modify the terrain, texture and natural lighting.